7 top tips on installing key clamp handrails
Installing key clamp handrails is a relatively straightforward process. But it’s important to get all the steps right, as one wrong move could compromise the safety and durability of the system.
In this key clamp handrail installation guide, we walk you through the seven key steps to a successful installation. Whether you’re working on a commercial site or residential project, following these tips will make for a secure and compliant handrail system in no time.
Key clamp handrail installation guide
1) Plan your base plate positions
Before you begin drilling or fixing anything, take the time to measure and mark out the position of each base plate. This will help to prevent any issues later down the line, such as misaligned posts or uneven spacing.
Our top tip: Use a 10mm SDS drill bit to create pilot holes in your surface before securing the base plates.
2) Secure the base plates
Once you have marked out all the positions, it’s time to fix the base plates in place. These provide the foundation for your key clamp handrails, so make sure they are securely set and level.
Our top tip: Fix all base plates before inserting any posts. This will ensure consistency across the entire structure.
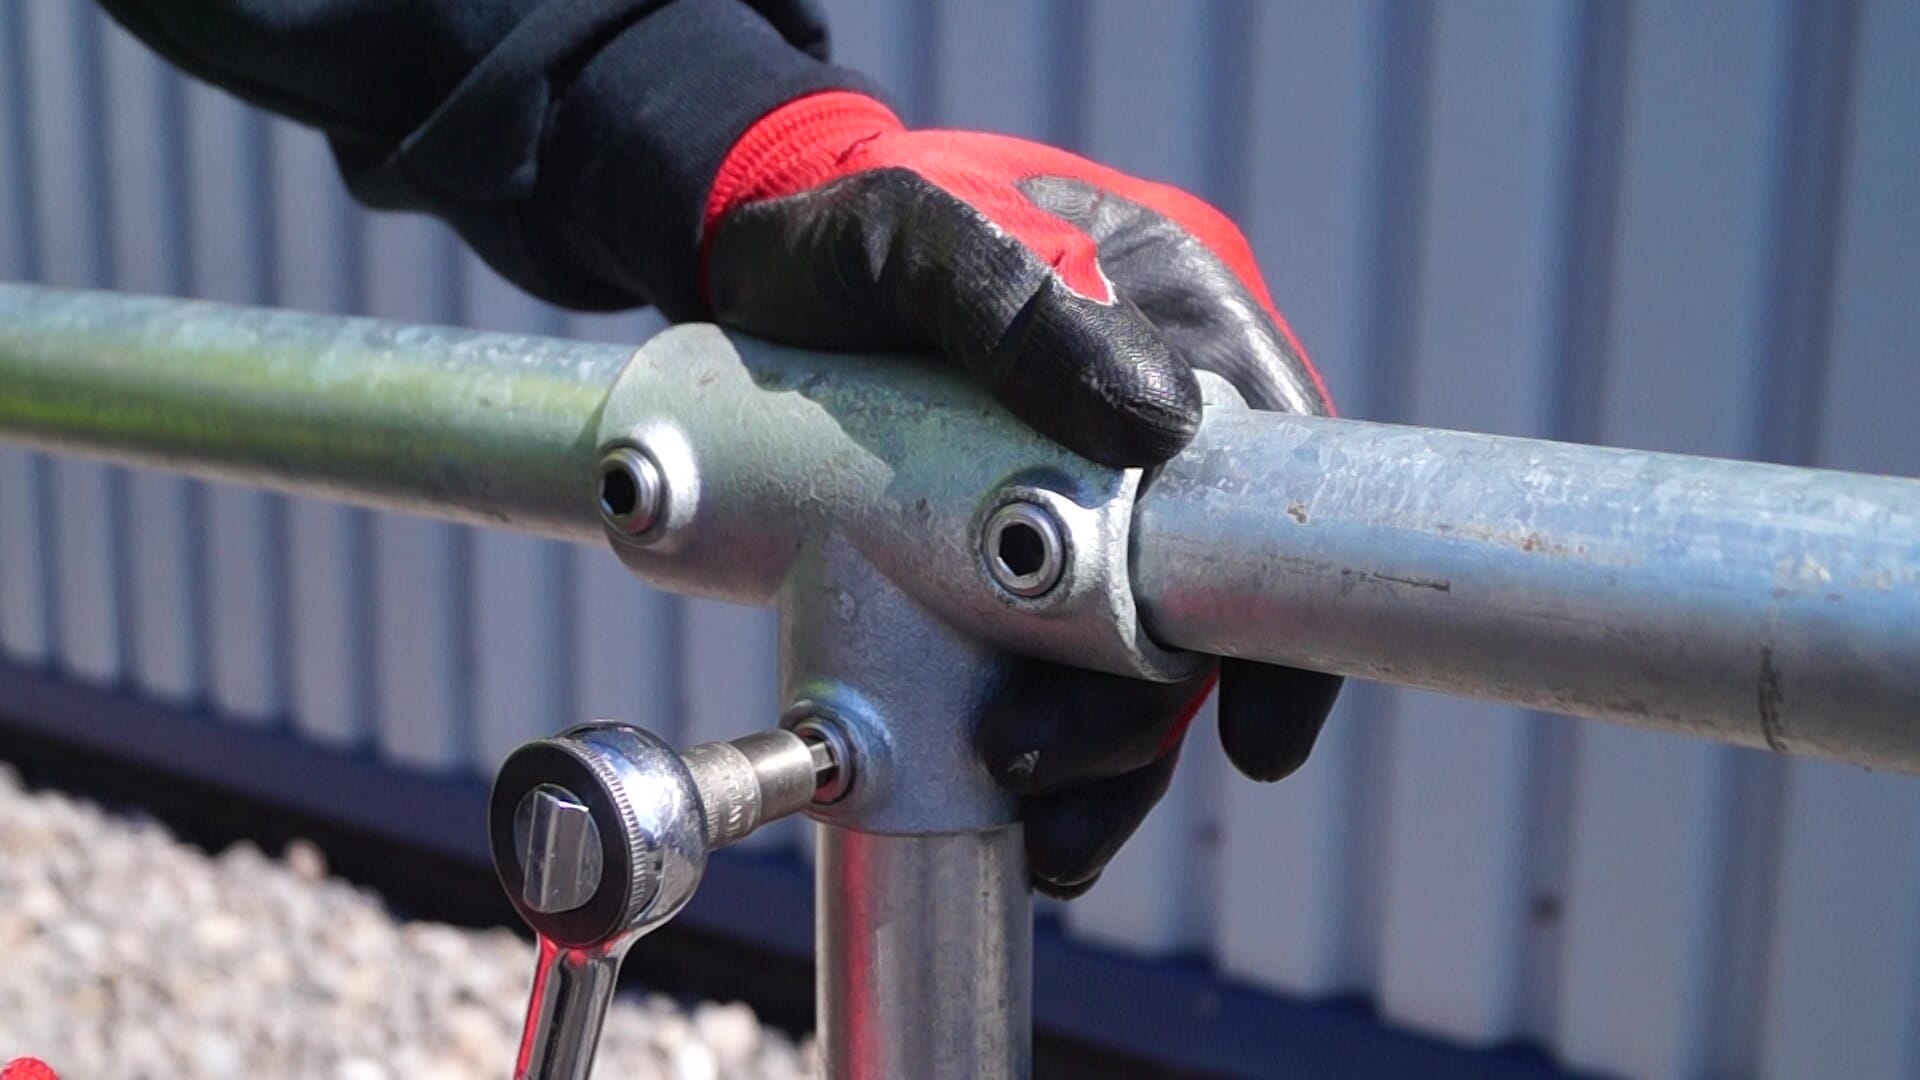
3) Insert and secure the posts
Insert the upright posts into the base plates and fix them securely using the correct handrail clamps. The size of the Allen key you need will be determined by the tube size:
- Use a 6mm Allen key for tube sizes 1 and 2
- Use an 8mm Allen key for tube sizes 3, 4 and 5
Our top tip: Make sure that all your posts are set at the correct height before fully tightening the clamps.
4) Install the mid rail
The mid rail provides additional strength and safety to your handrail system, so it’s vital that you install this correctly. Set the height of the 101 fitting (which supports the mid rail) and then measure the length of tubing needed.
Our top tip: Cut the mid rail tube to match the spacing between the posts. This will ensure a clean and seamless finish.
5) Fix the mid rail in place
After cutting the mid rail tube, slide it into position and secure it using the 119 fittings. Take care to ensure that the mid rail sits level and matches the height of all other sections for a professional and uniform appearance.
Our top tip: Double check all your fixings before moving onto the top rail installation.
6) Prepare for the top rail
Set the 125 fitting in place before installing the top rail. This ensures that the top rail can slide straight through, which will make the alignment much more precise.
Our top tip: Take your time positioning the 125 fittings. This will reduce the chances of having to make adjustments to the top rail later down the line.
7) Install and secure the top rail
Finally, slide the top rail tube through the 104 fitting into the next post and tighten the clamps. This is the final structural element of your key clamp handrail design, giving it the strength and stability needed to support a wide range of users.
Our top tip: Give the entire key clamp handrail system a final check. Ensure that all clamps are tight and secure before signing off the installation.
Need more support with installing your key clamp handrail system? Watch our ‘Key Clamp Handrail Installation Guide’ video for a step-by-step demonstration.
Ezi Klamp: Your trusted key clamp handrail supplier
Look no further than Ezi Klamp for all your key clamp handrail needs. Our modular key clamp handrail systems can be adapted to the layout of commercial sites in any industry, and we offer over 60 key clamp tubes and fittings to suit your project requirements.
Our key clamp handrail systems are extremely easy to install. All you need is an Allen key to build a strong and stable handrail from steel tubes – there’s no need for special tools, welders, hot works permits, or site closure. But if you do require additional support, we also offer an installation service for more complex projects.
Get in touch to discover more about our key clamp handrails and begin planning your next project today.


